Category Archives: Production Studio

Progress

Box full of audio cables

Box full of completed cables for the WGMU Production Studio

It may not look like much, but that box full of cables represents several days worth of work.

Unfortunately, the necessary cables never come in the box when it comes to pro-grade audio equipment – you have to make them yourself.

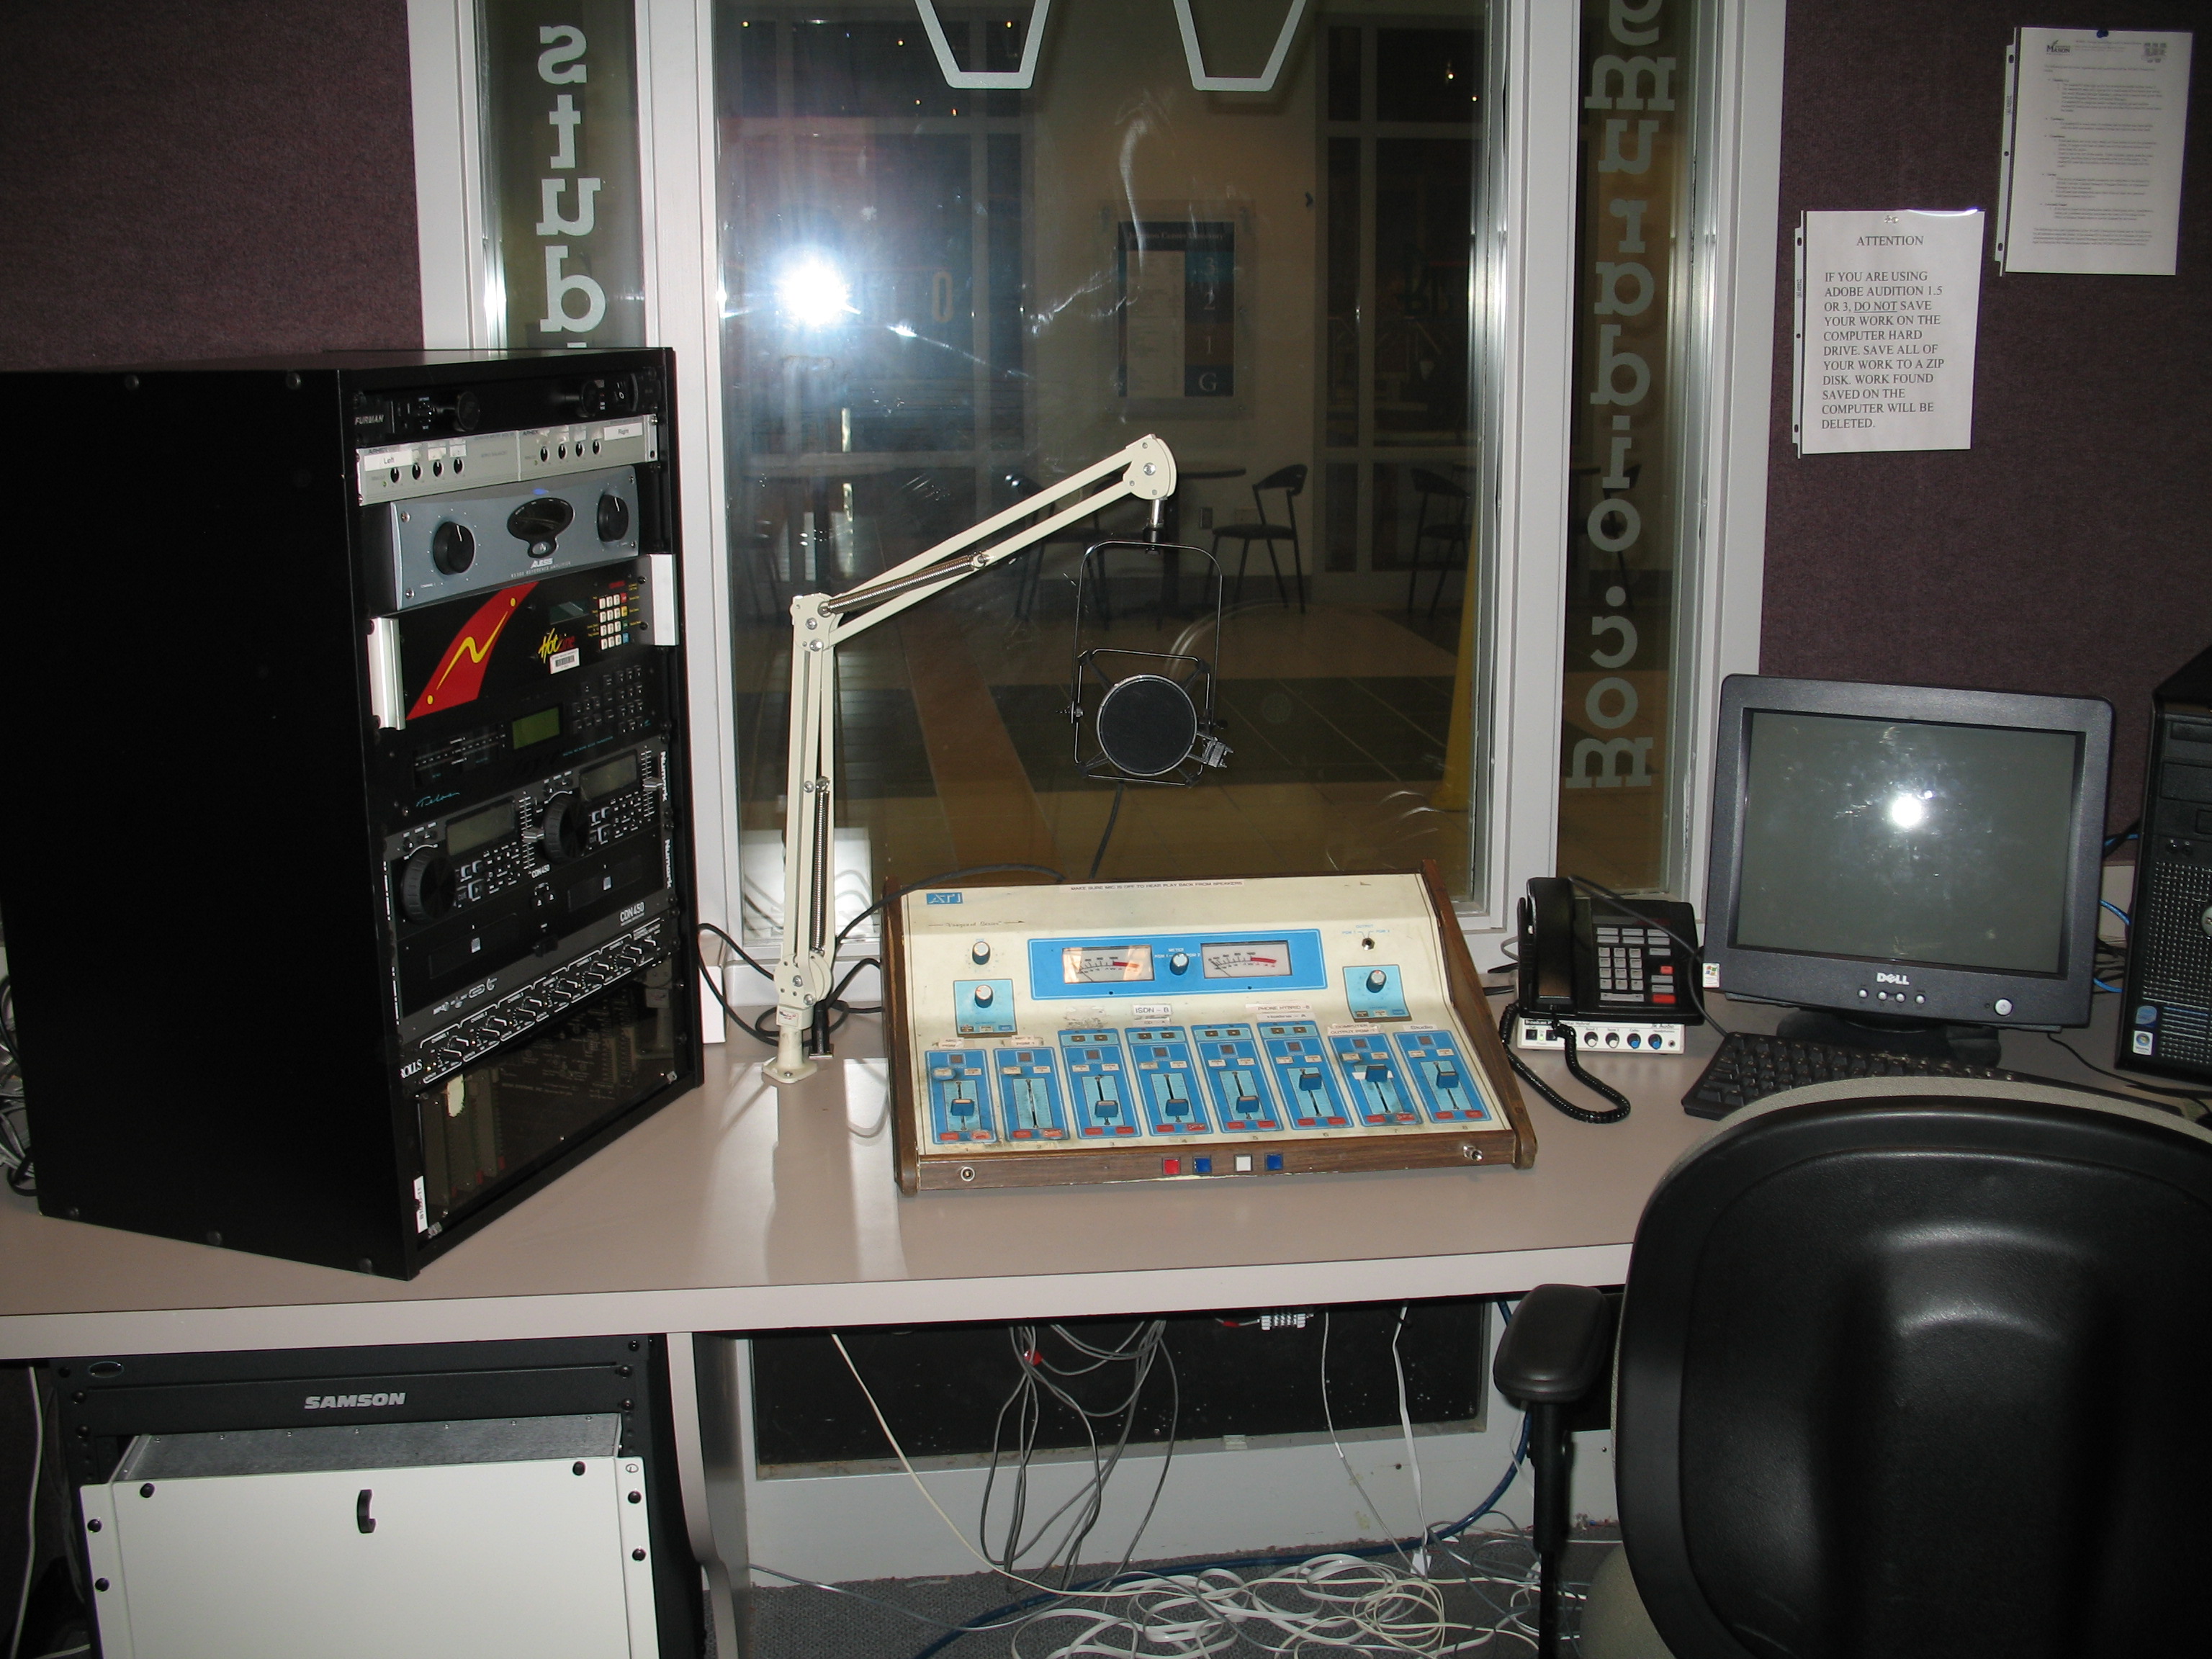
Part of the problem is that there are so many different types of connectors for audio equipments, including XLR, RCA, 1/4″ phone, 3.5mm mini-jack, etc – the list goes on. Also, every studio is different, so you never know what length you’re going to need. For our Logitek AE-32 Audio Engine, I had to create cables that go from DB25 to XLR, RCA or terminal block with lengths ranging from 6 feet to 18 feet.

It takes time to measure, cut, solder, test and label* each wire. A couple of things slowed me down.

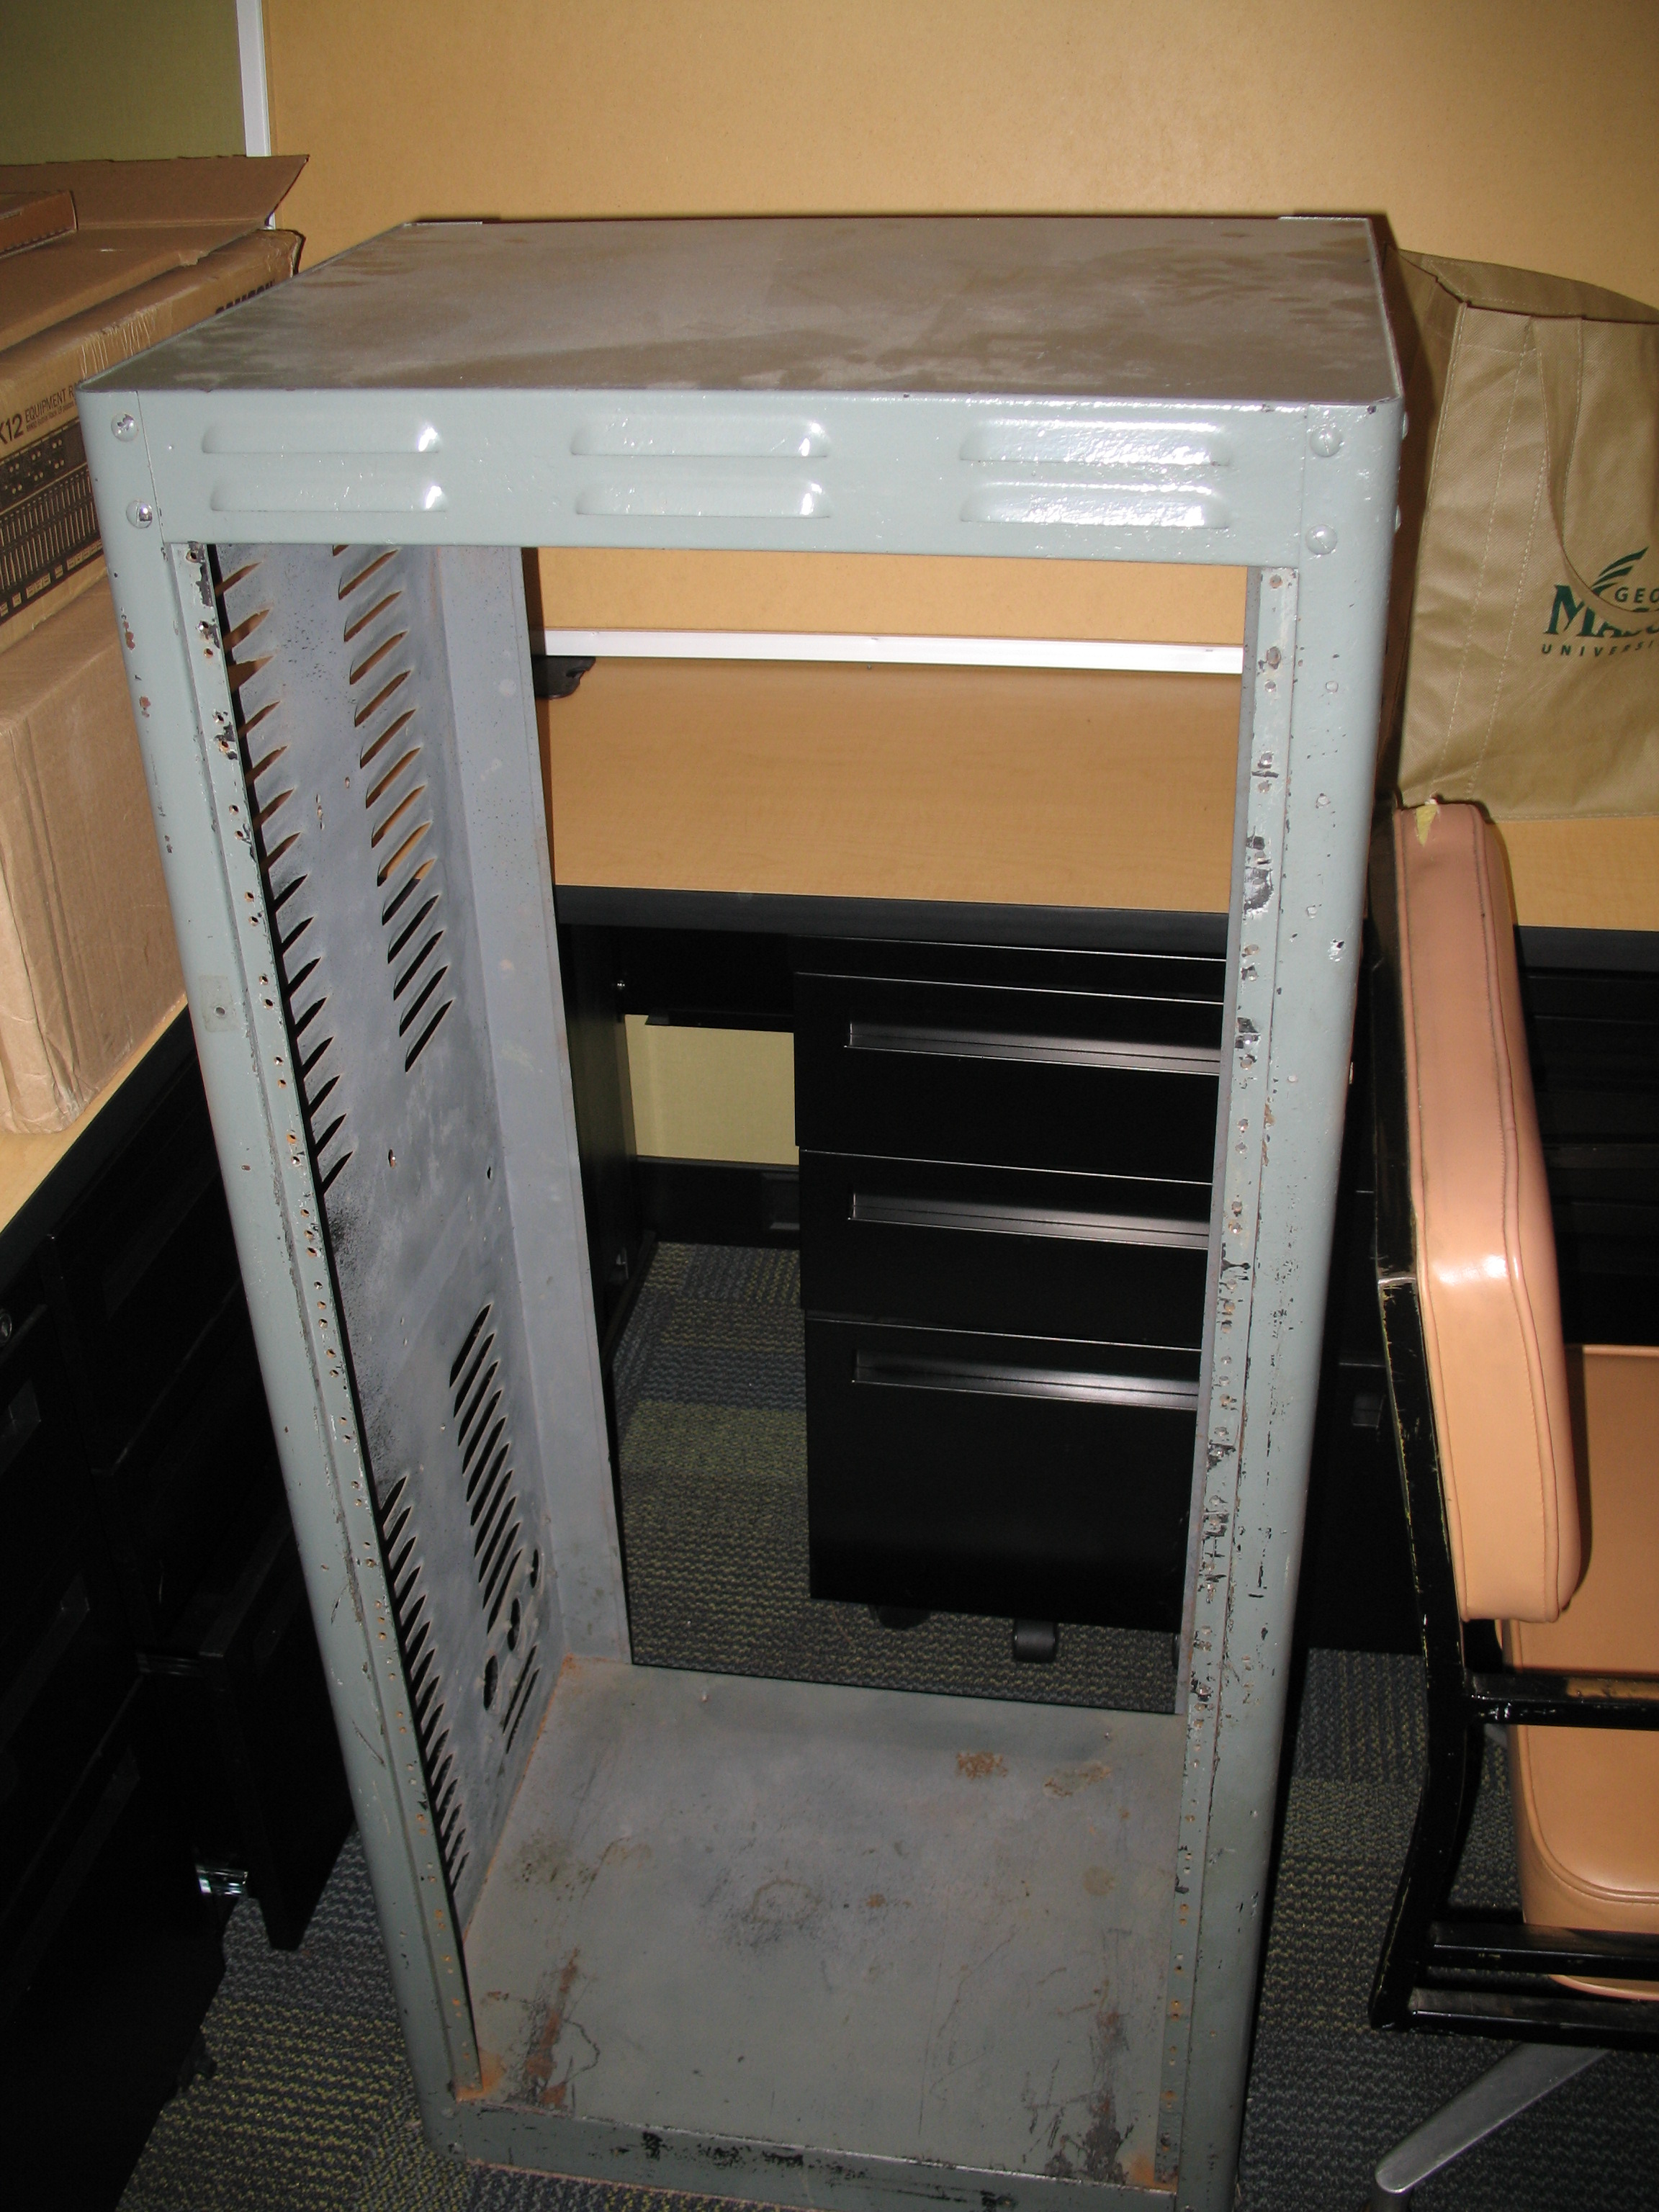
First, I don’t have a dedicated workbench so I have to set up everything each time I work. After hauling out all my tools and warming up the soldering gun, 30 minutes pass without actually accomplishing any real work.

Second, I use lead-free solder that has a melting point of 422.6 degrees Fahrenheit, which is a good 50 degrees higher than 60/40 tin/lead solder. That makes it more difficult to work with since you have to wait longer for everything to heat up (unless you like cold-solder joints). Of course, you’ll become infertile after being exposed to lead, so lead-free solder does have some benefits.

These factors combine to make it necessary to have a full hour of uninterrupted work time in order for me to complete anything. Unfortunately, I rarely have an hour when I’m not interrupted so needless to say, the Production Studio upgrade has gone very slowly.

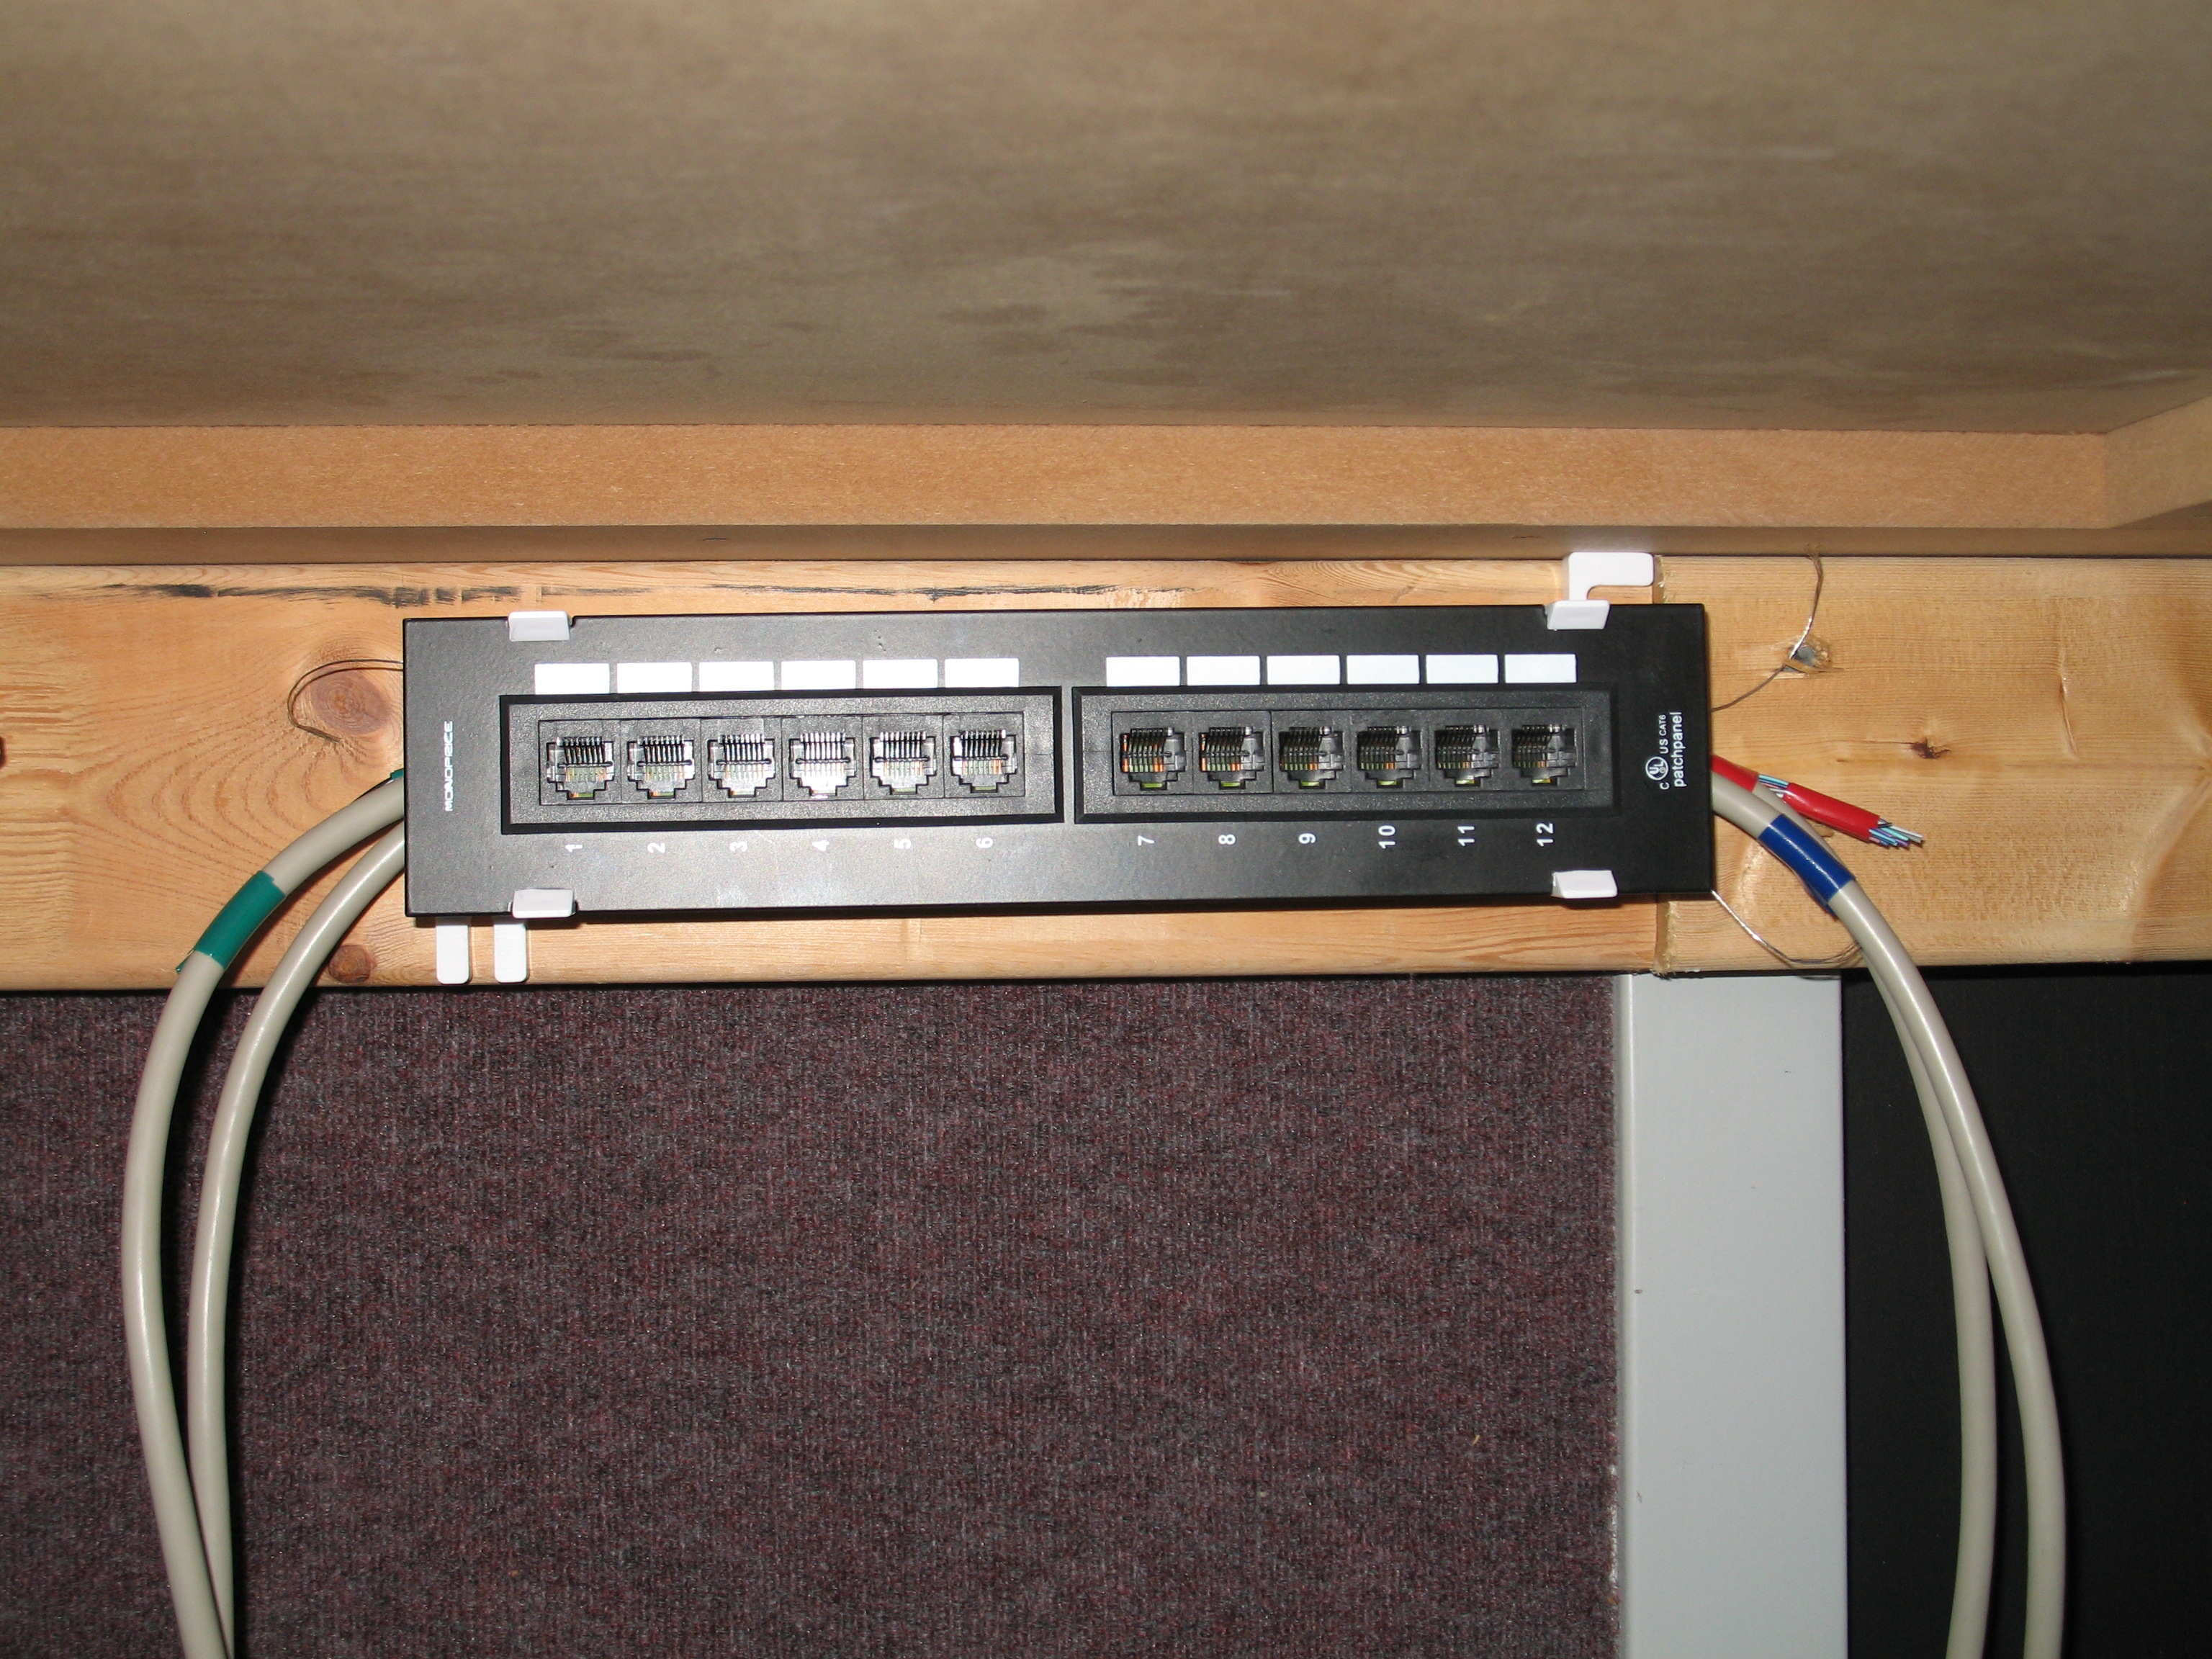
* It is important to label each wire. It may not seem important at first, and if you never ever repair, replace or add any equipment to your studio (yeah, right), you might be able to get away with it. However, without labels and documentation, repairs, upgrades and additions become very difficult – tracing connections is no fun. I guarantee, you will not remember how you hooked things up a year from now and it may not even be you who does the repair, upgrade or addition.

Patch Chart Screenshot

I keep very copious notes about where every single conductor goes. This makes repairs, upgrades and additions easier.

Production Studio Upgrade – Patch Panel

Patch panel installed underneath the table.

Patch panel installed underneath the table.

It has been a lot longer than I’d like since I last worked on the Production Studio. Unfortunately, Student Media had a lot of staff leave in the last year and a half and I had to pick up a lot of their responsibilities. Luckily, we hired two new full time staff members at the end of the Spring semester. Once they are up to speed, hopefully I can turn my attention back to neglected projects like the Production Studio.

I made a lot of progress this week. I wired up an Ethernet patch panel to replace the 66 block we currently use. No, our new system isn’t IP-Audio based – it is a mix of analog and serial digital (AES/EBU, S/PDIF). I decided to use Ethernet since both parts and tools are plentiful and cheap. I could have used a 110 block instead of a patch panel, but there is a certain appeal to being able to change a connection down the road without a punchdown tool.

66 Block in the Production Studio

66 Block in the Production Studio

While we won’t need a punchdown tool in the future, I sure needed one this week while wiring up the patch panel. A spreadsheet we created to document the wiring takes two pages when printed out. The version of the Logitek AE-32 engine we has DB-25 outputs, so I had to wire four serial cables into the patch panel. Luckily, RS232 and Cat 5/6 use similar gauge wire (around 24 gauge).

Ethernet patch panel wired to serial cables.

Serial cables wired to Ethernet patch panel.

Serial cables plugged into the Production Studio Logitek AE-32.

Serial cables plugged into the Production Studio Logitek AE-32.

Since I split the equipment into two racks, I will have to pass a lot of cables through the table. The three small existing holes are not enough to accommodate all the cables. So, I drilled a new 3″ hole in the table. Unfortunately, the grommet I bought for the hole is 80mm, which is slightly larger than 3″ and I couldn’t get it to fit. Looks like I need to find a file.

Yet another hole in the Production Studio table.

Yet another hole in the Production Studio table.

Another reason I will need more space for cables is that most of the equipment was plugged into the nearest power outlet, often without a surge protector. I think this contributed to the ground loop hum problem in the studio. I plan to plug all the equipment into our Furman PL-8c power conditioner, which means I have to route all the power cables to one location.

Next, I will have to fabricate wires between the patch panel and the equipment. That’s a lot of soldering that will probably take several days to complete. Hopefully, WGMU won’t have to wait another 8 months until I have free time in my schedule.

Production Studio Update – Relocating Mic 1

Mic 1 has been relocated from the left side of the board to a center position behind the board.

Mic 1 has been relocated from the left side of the board to a center position behind the board.

Today, I spent time tweaking the “feng shui” of the Production Studio.

If you look at the picture of the Production Studio in my blog post on November 23rd, you’ll notice that the OC White mic arm is mounted to the left of the console and the mic hangs near the rear of the console. In use, this is as awkward as it looks – you have to lean over the console to speak into the mic. So I centered the mic arm behind the console and put it on a riser that I salvaged from the Practice Studio. For good measure, I greased all the joints to silence any squeaks and adjusted the tension on the arm so it no longer snaps back. Now the mic hangs directly in front of the console and can be easily swung away without making any noise.

As an added bonus, with the mic arm out of the way, I could move the equipment rack closer to the console.

I also replaced the 17″ CRT monitor with a 17″ LCD monitor, which allowed me to move the computer closer to the console as well. This puts everything within easy reach of the user.

Finally, I replaced the old chair with two newer chairs from Surplus (so they didn’t cost us anything). The old chair squeaked, was missing an armrest and had a rip in the seat. Even though the new chairs were from Surplus, they are in great shape although I had to repair a broken back adjustment lever on one of the chairs.

Old Production Studio chair with missing armrest and torn seat

Old Production Studio chair with missing armrest and torn seat

Production Studio Upgrade – New Racks

Our ancient metal rack has been replaced by two racks, a particle board rack on the table and a brand new metal rack underneath.

Our ancient metal rack has been replaced by two racks, a particle board rack on the table and a brand new metal rack underneath.

After completing the upgrade of the Practice Studio, I am turning my attention to upgrading WGMU Radio’s Production Studio on the ground floor of the Johnson Center. I originally wanted to complete this project over the summer, but our Business Manager suddenly retired in April, and I inherited his duties due to my previous stint as Business Manager back in 2001. Needless to say, absorbing an additional 0.5 FTE worth of work is tough.

The console in the Production Studio, ATI Vanguard, is a virtual twin of the one that was in the practice studio, except that it is slightly newer (early 80’s vintage) and has a set of four cart machine controls on the front. At around 30 years old, this piece of equipment is older than most students that use it. I can’t fault the console’s durability, but it is functionally obsolete, so it has to go. Luckily, the same employee of the Associate Press who donated equipment for our Practice Studio also donated a second Logitek AE-32 Audio Engine and Remora control surface for use in the Production Studio.

Overall, the Production Studio is a mess. Whoever set it up initially knew what they were doing. Unfortunately, all their handwritten labels on the 66 block faded away a long time ago and numerous people since then have installed various unlabeled and undocumented hacks. My favorite is the “poor man’s mix-minus bus”. Since the Vanguard doesn’t have a min-minus bus installed standard, someone kind of made one by tapping into the Mic 1 pre-amp output and connecting it to the Telos Zephyr ISDN codec. This does work although it drops the output of Mic 1, which makes it more difficult to balance it with Mic 2.

Other issues include both mics wired out of phase, the 3.5mm computer connection swaps the left and right channel and the shield pin isn’t connected in many XLR jacks – probably a clumsy attempt to fix a ground loop hum issue.

The first step in the studio upgrade is to install all the equipment we purchased over the summer into the equipment racks. Originally, we tried to install the equipment in our ancient gray metal rack, but after Rodger Smith asked that we move the Comrex Hotline to the Production Studio in order to handle Women’s Basketball broadcasts, we didn’t have enough space (even after ditching the old Technics compact cassette deck).

Our ancient gray metal rack.

Our ancient gray metal rack.

That is just as well since we had trouble screwing in the equipment into our ancient gray metal rack because the threads were rusted. Also, true story, back when it was new (World War II?), the rack was actually black and when it begun to rust, someone decided to paint it gray. Why? I assume that gray paint was on sale at the time. Repainting would have been perfectly OK if they sanded off the rust first and smoothed out the paint, but they just sprayed over the mess and called it a day. That is what gives the rack its wonderful mottled appearance.

Rust collecting at the bottom of our ancient gray metal rack.

Rust collecting at the bottom of our ancient gray metal rack.

I made the decision to use two medium size racks instead of one gigantic rack, primarily because I didn’t think the table could handle the weight, and because it would be tough to reach the equipment at the top of the rack from a sitting position.

The upper rack is the particle board rack from the Practice Studio. It was too big for the Practice Studio, but just right for the Production Studio. I gave it a good cleaning and added felt strips on the bottom so it can slide around on the desk without scraping it up. The equipment in the upper rack is (from top to bottom): Furman PL-8 C Power Conditioner*, Aphex Distribution Amp (which I would have removed if I actually knew what was patched through it), Alesis RS300 Amplifier, Comrex Hotline POTS Codec, Telos Zephyr ISDN Codec, Numark CDN450 Dual CD Player*, Rolls RA62c Headphone Amplifier* and Benchmark System 1000.
* New Equipment

The lower rack is a brand-new Samson SRK12 rack. The Samson is a great rack for the money. It is completely steel, includes casters and has both US and European threads. The gauge of the steel isn’t as thick as our ancient gray metal rack, but not bad overall. I put the Logitek AE-32 Audio Engine and Benchmark PS202 Power Supply in the lower rack since neither piece of equipment has any front controls.